These are easy step-by-step instructions on how to encrypt an SDXC memory card drive with VeraCrypt. The encrypted volume has cross-platform support and can be accessed with all Mac, Linux & Windows operating systems.
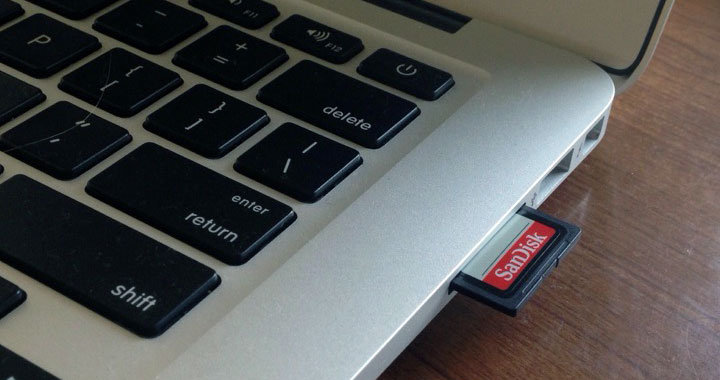
In this example, I’ve used Sandisk’s Extreme Pro 512GB SDHC/SDXC Card with a capacity of 512 GB, read speed up to 95 MB/s and write speed up to 90 MB/s. Regular SD cards are likely too slow for such encrypted volumes.
Please note: VeraCrypt is widely considered as the best alternative to the classic TrueCrypt which was discontinued in 2014.
Steps to Creation of VeraCrypt Volume
Below I’ve provided screenshots of each step that are easy to follow until the encrypted volume has been fully created within the partition/drive.
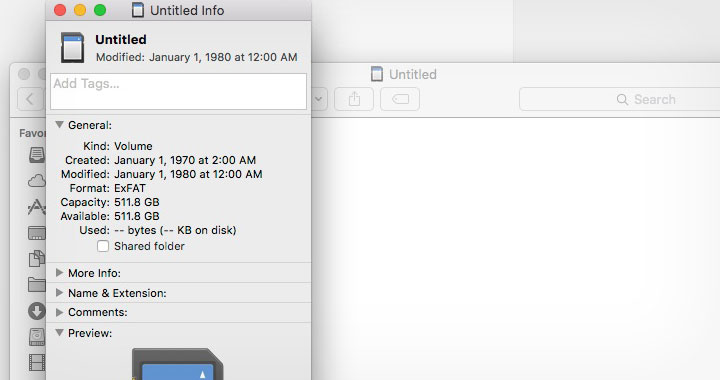
SDXC has adopted Microsoft’s exFAT file system; this partition will be erased however you can easily format the drive with exFAT at any time to revert to default.
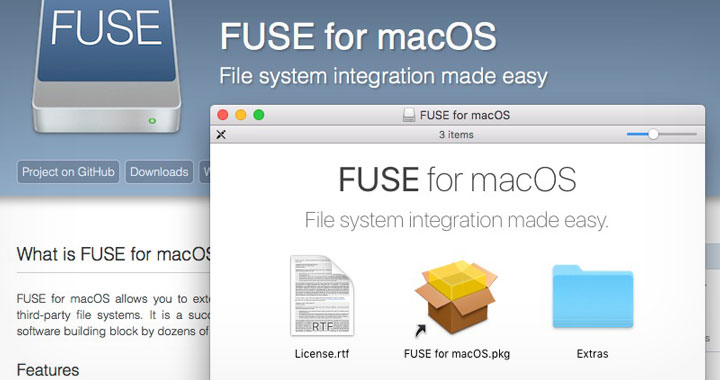
Get latest FUSE for macOS (osxfuse-3.5.5.dmg at the time of writing).
https://github.com/osxfuse/osxfuse/releases
Install FUSE for MacOS with packages:
- FUSE for macOS Core Components (Install)
- FUSE for macOS Preference Pane (Install)
- MacFUSE Compatibility Layer (Skip)
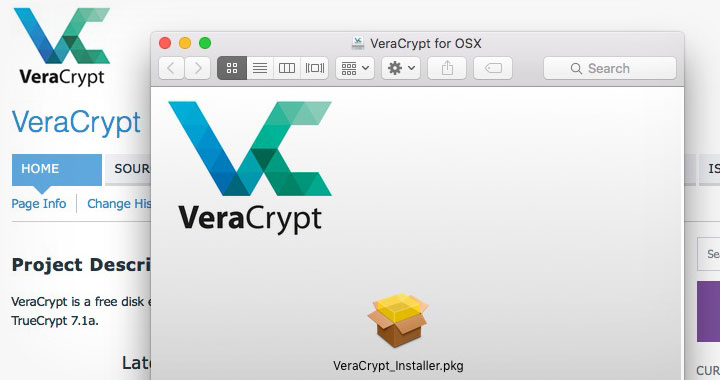
Get latest veracrypt (VeraCrypt_1.19.dmg at the time of writing).
https://veracrypt.codeplex.com/wikipage?title=Downloads
![]()
Installing Mac version of VeraCrypt is simple.
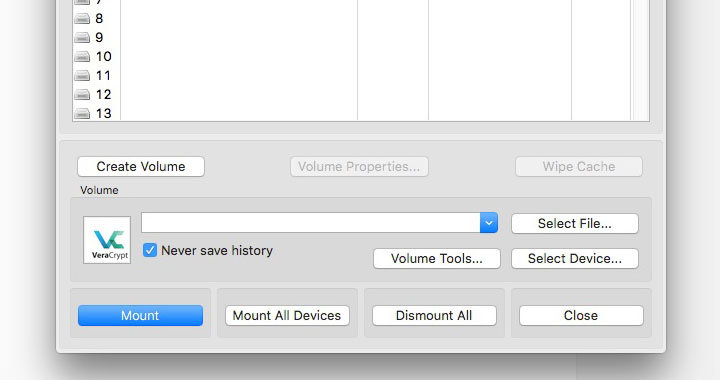
Make sure the SD card is inserted and choose “Create Volume”.
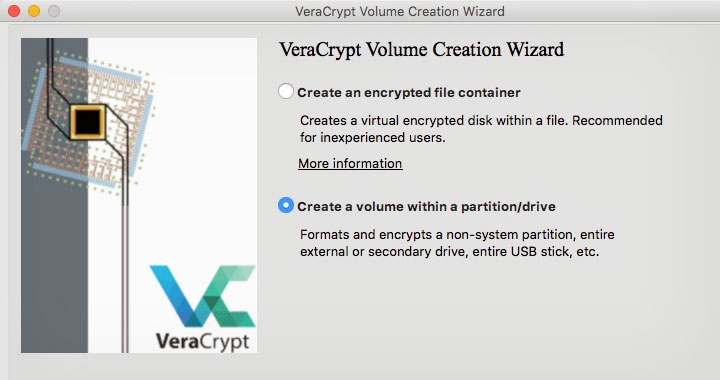
This will launch the VeraCrypt volume creation wizard.
Select “Create a volume within a partition/drive”.
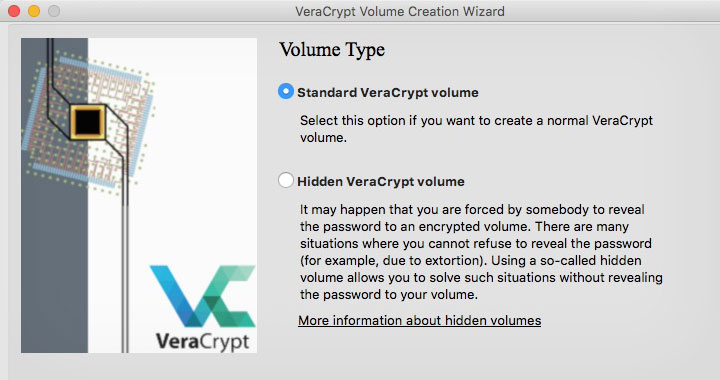
Select “Standard VeraCrypt volume” as volume type.
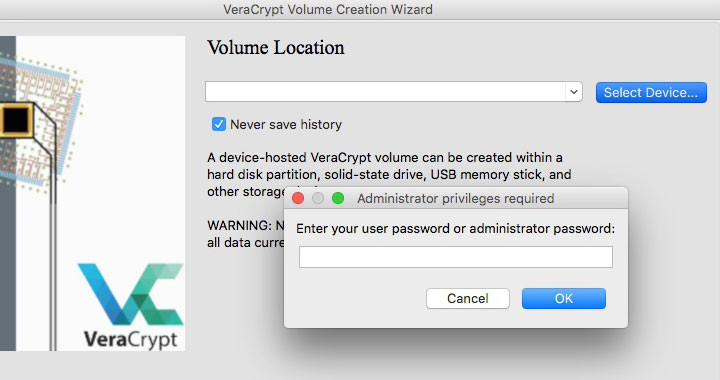
Enter your admin password to be able to re-partition the drive.
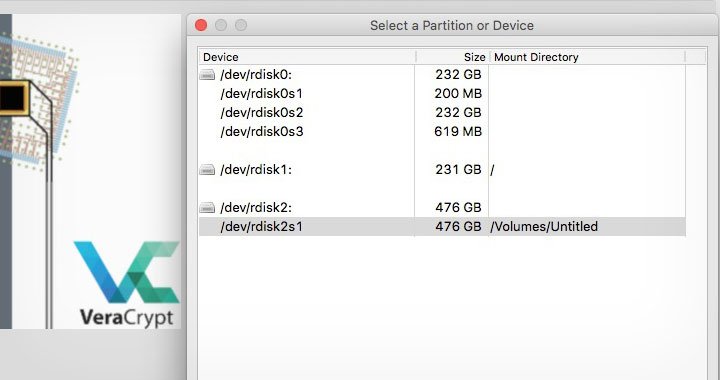
Select the right partition from the list of available device partitions.
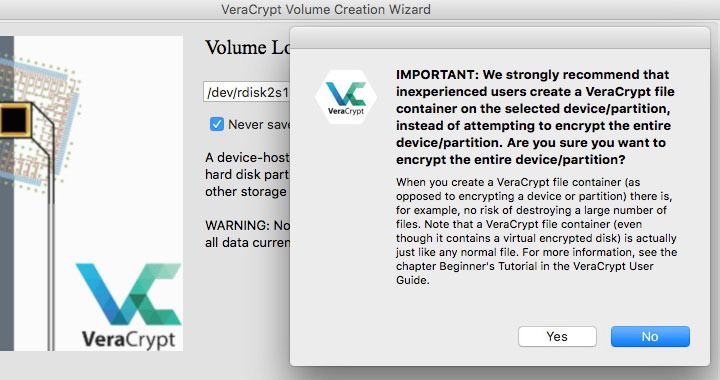
Please note: The warnings are only related to creating a bootable partition which doesn’t support UEFI fully. It is safe to continue.
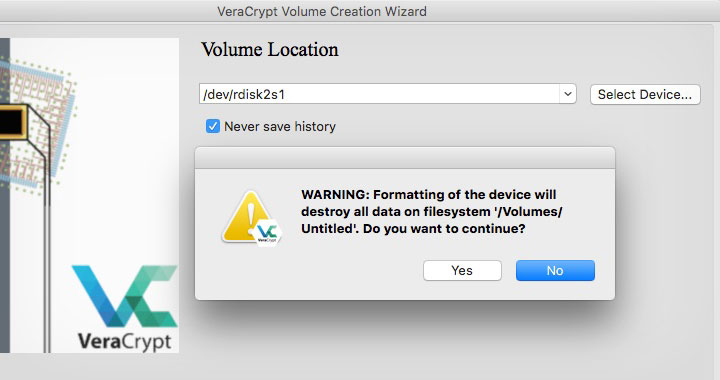
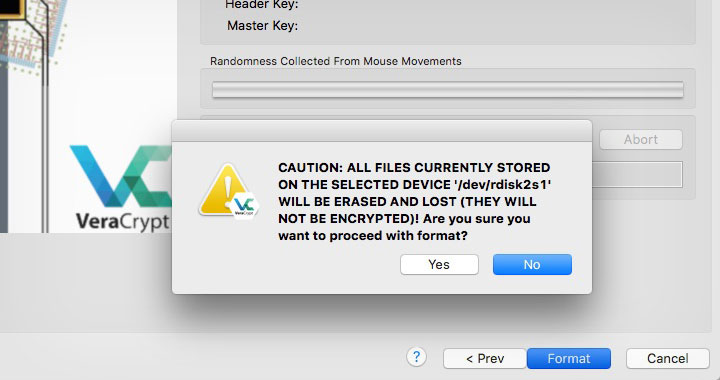
Confirm that you want to format the device.
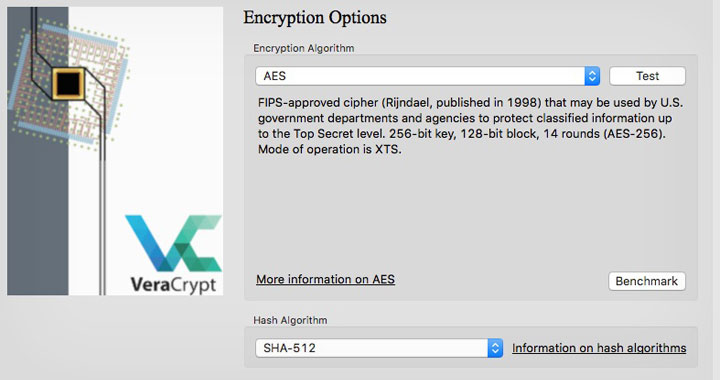
Select your desired encryption algorithm and hash algorithm. The defaults are recommended and extremely secure settings.
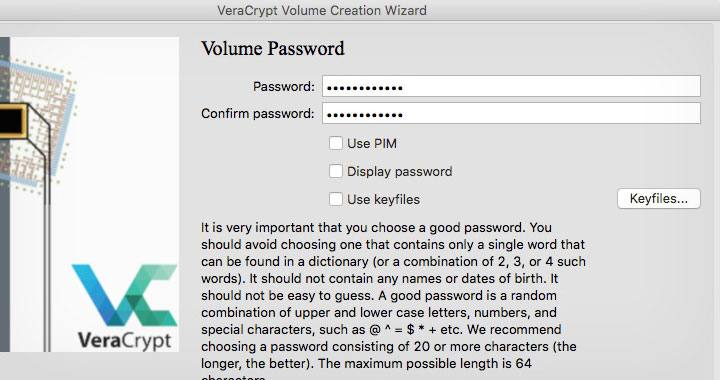
Enter password as instructed.
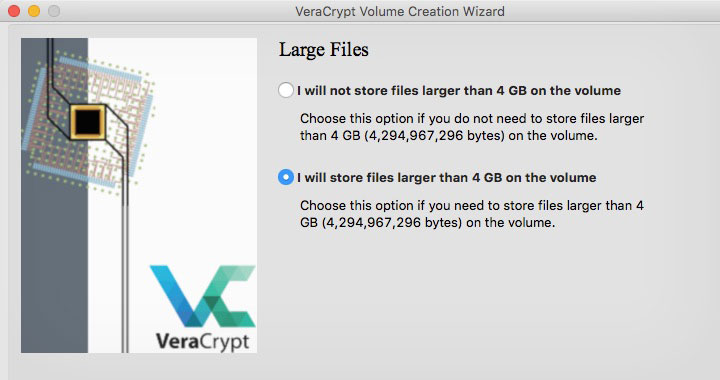
Support for file size of 4 GB is recommended.
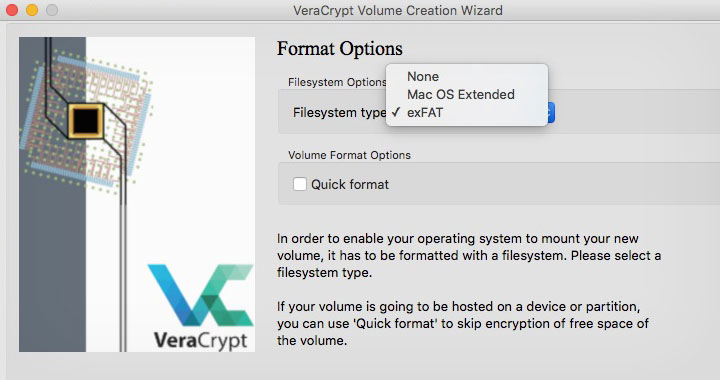
Choose the same filesystem type as original “exFAT”.
On the latest MacBook Air, quick format took 15 seconds to create the encrypted partition, while extensive volume format was estimated at 3 hours.
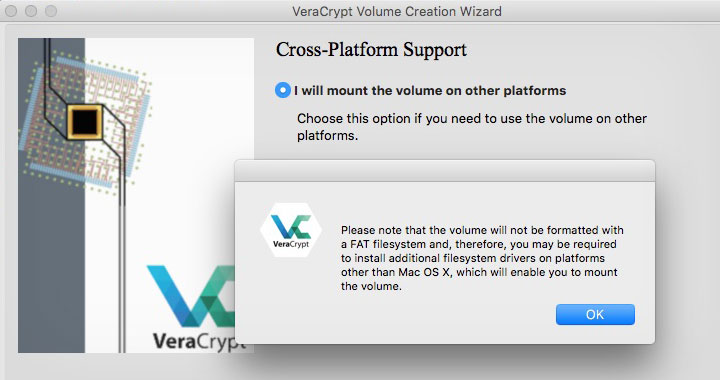
Despite the warning that filesystems other than FAT have possible compatibility issues; exFAT is fully compatible with the Linux, Windows and Mac OS.
Proceed with format — the last stage before finalizing the procedure.
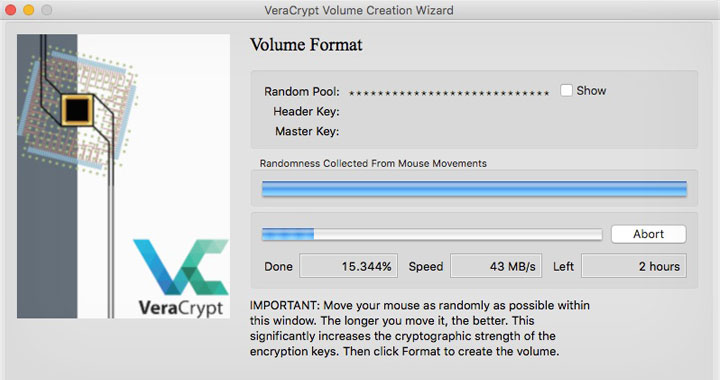
Create randomness with mouse movements and wait until the format is over.
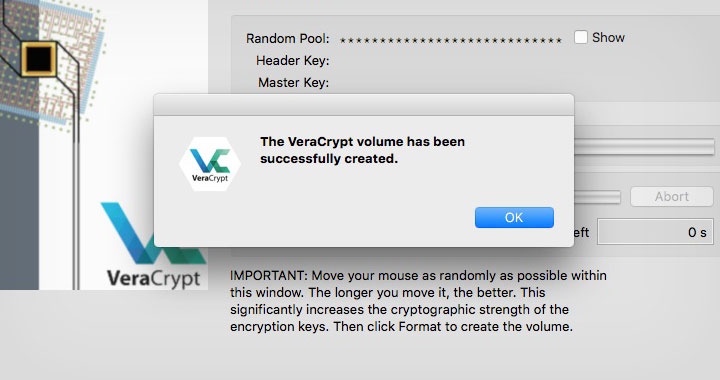
And you are done!
Use the VeraCrypt application to mount the volume.
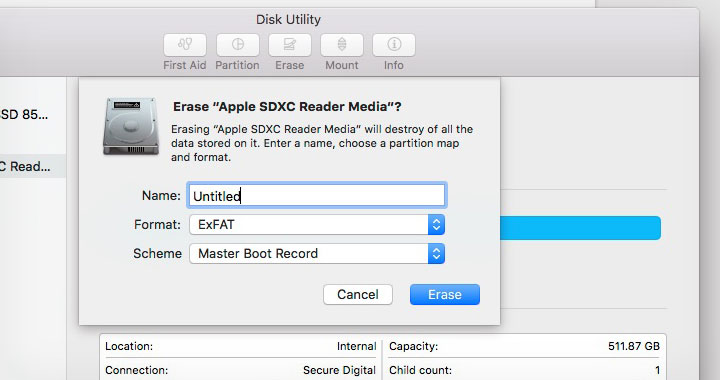
To revert back to original state, format again with exFAT using Mac’s Disk Utility.
Continue reading –> Part 2: Speed Test
Comments.., questions? Welcome below!
Great article! I found the step-by-step instructions very clear and helpful in encrypting my SDXC card using VeraCrypt on my Mac.