In this post I’m going to show two ways to use Matomo/Piwik Analytics with AMP on WordPress. Although the AMP Project does not include Piwik on their list of supported Analytics — it’s possible and I wouldn’t leave home without it!

Please note that AMP doesn’t allow Javascript. This method uses the “Image Tracker code” feature which has some limitations. For example the lack of cookies which is why the number of returning visits cannot be tracked.
Can be tracked:
Browser, Operating System, Time on Website/Page, Page Title, IP/Hostname
Cannot be tracked:
Visits, Screen resolution, Search keywords, Referrers, Browser plugins
AMP for WP Method
This is the simplest way, suitable for non-tech-savvy people.
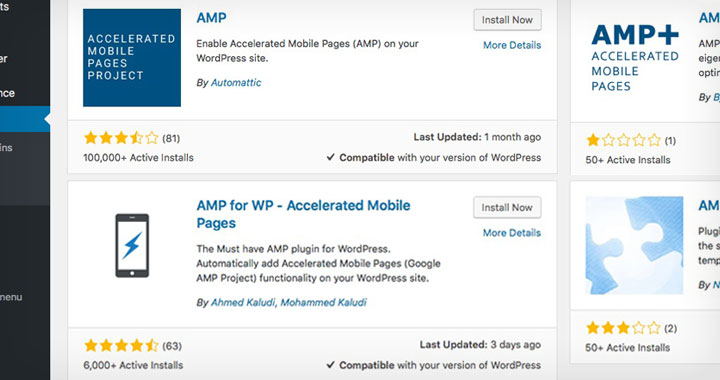
Easiest way is to use the AMP for WP plugin which has a ready built-in feature to support Piwik. It depends on the AMP Plugin which also needs to be installed.
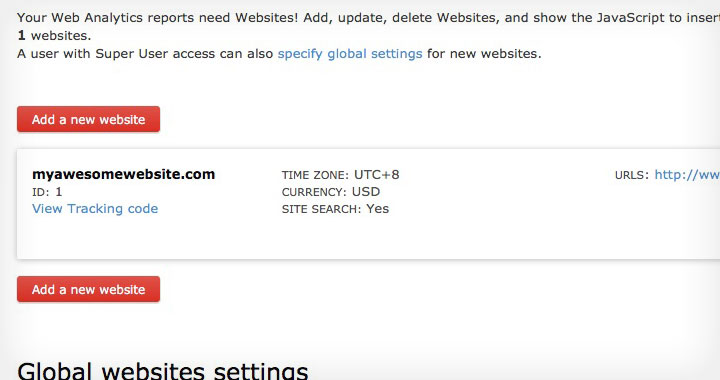
First things first — you need to know the ID of your website. Choose the wrench icon on the top right corner at the Piwik dashboard and go to ‘websites’ under ‘administration’. You will see the ID number of each installed website.
Back in WordPress — you will have the AMP settings (wrench icon) on the left side bar of the WP Admin area. Navigate to the ‘general’ section of the ‘Accelerated Mobile Pages Options’ page.
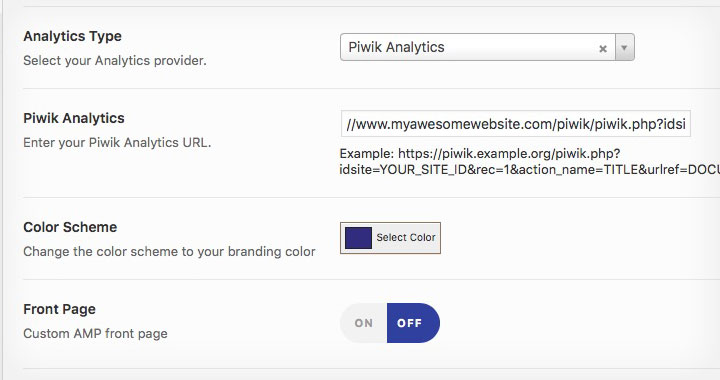
Choose Matomo/Piwik as Analytics Type and edit the code supplied below.
Example:
//www.myawesomewebsite.com/piwik/piwik.php?idsite=1&rec=1&action_name=TITLE&urlref=DOCUMENT_REFERRER&url=CANONICAL_URL&rand=RANDOM
- If your site is under http — use //
- If your site is under https — use https
It will add the following tracking code before the closing body tag.
<amp-pixel id=”AMP_14″ class=”-amp-element -amp-layout-fixed -amp-layout-size-defined -amp-layout” src=”//www.myawesomedomain.com/piwik/piwik.php?idsite=1&rec=1&action_name=TITLE&urlref=DOCUMENT_REFERRER&url=CANONICAL_URL&rand=RANDOM” style=”width: 1px; height: 1px; display: none;” aria-hidden=”true”>
AMP Plugin Method
If you prefer to just use the AMP plugin on it’s own.
![]()
- Create a directory ‘amp’ in your theme’s folder: /wp-content/themes/yourtheme/amp/
- Copy /wp-content/plugins/amp/templates/single.php to the ‘amp’ folder
- Edit single.php and place this before the closing body tag:
<amp-pixel src=”//www.myawesomewebsite.com/piwik/piwik.php?idsite=[ID_NUMBER]&rec=1&action_name=TITLE&urlref=DOCUMENT_REFERRER&url=CANONICAL_URL&rand=RANDOM”></amp-pixel>
Where ‘[ID_NUMBER]’ is replaced with the ID of your site in Piwik.
If you have a problem with Matomo, or something’s not working, leave a comment and I’ll see what I can do to help. Thanks.
Thank you so much for using and creating a guide around this. This will really help people who are using the plugin.
We’re honored to have you as a plugin user.
Regards,
Ahmed
Thanks to you — I’m just a Piwik fanatic so had to write this 🙂
It seems that the Piwik AMP integration works as a “Proxy PHP script” that is called as a”pixel image” passing all available variables (Title, Referrer, etc.) from AMP Pixel script… is it?
Doesn’t be it better to use “amp-analytics” instead? It is more documented…
I can’t find “amp-pixel” documentation for variables… Any suggestion?
Hi, according to https://github.com/Automattic/amp-wp, it’s not necessary to modify single.php :
add_action( ‘amp_post_template_footer’, ‘xyz_amp_add_pixel’ );
function xyz_amp_add_pixel( $amp_template ) {
$post_id = $amp_template->get( ‘post_id’ );
?>
<?php
}
Sorry, the <amp-pixel src=”//www.myawesomewebsite.com/piwik/piwik.php?idsite=[ID_NUMBER]&rec=1&action_name=TITLE&urlref=DOCUMENT_REFERRER&url=CANONICAL_URL&rand=RANDOM”></amp-pixel> didn’ render between ?> <?php
🙂
2nd metod not working, I cant find piwik code on my amp website
Your guide (first method) only works for me on my testing site without SSL, using
//www.example.com/piwik/piwik.php?…
but when I try the same with my main site, with SSL, Matomo/Piwik doesn’t track any page views when testing:
https://www.myawesomewebsite.com/piwik/piwik.php?
(I tried leaving out the “www.”, didn’t work either)
what else could I try here?