This is how to afterwards install and set up Japanese language files to WordPress. Also I’ll show how to change the backend “dashboard” language per user. WordPress is easy, which however does not always apply to documentation as was the case here.
Thus I made this little how to, enjoy!
Of course, if you are starting from scratch, the easiest way is just to install WordPress downloaded of the Japanese WordPress site.
If you want to add it later, read on.
WordPress docs tell you to download some .mo language file, without much letting you know how. No worries, it’s easy.
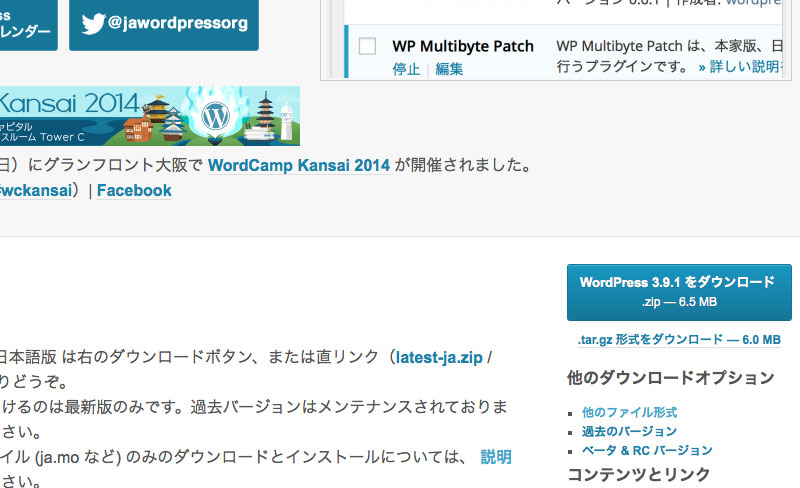
Step 1 — download the whole package of the Japanese version of WordPress from http://ja.wordpress.org.
If you can’t speak Japanese, it’s the big blue box like above that says “ダウンロード”.
Actually the only difference with the contents of this WordPress package and for example the English WordPress installation is that there is a directory called languages with all the necessary language files. As well as a ready configured configuration file.
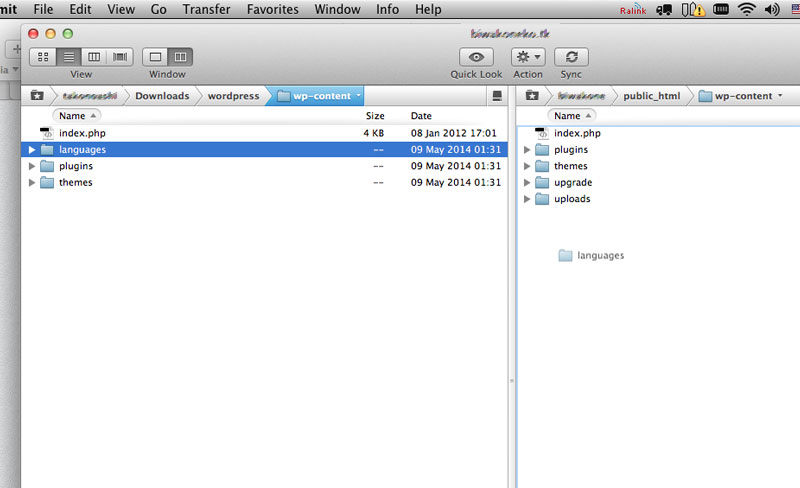
The easiest way is just to drag and drop the languages folder from the previously downloaded archive to your install of WordPress. (Above Transmission screenshot).
Step 2 — Copy /wp-content/languages/ directory to /wp-content/
If you already have the languages folder, just copy paste the stuff inside the directory.
To setup the default language in WordPress as Japanese:
Step 3 — Edit wp-config.php
Change line:
define('WPLANG', '');
to
define('WPLANG', 'ja');
Note: Since WordPress 4.0+ there is no WPLANG line in wp-config.php anymore. Instead, simply go to WP Admin –> Settings -> General -> Site Language. There you can change the language.
And your WordPress should be all Japanese now.
If you want to change the backend language to something different, I no longer recommend the Native Dashboard plugin. It will let you change the dashboard language individually for every user. But this feature is already implemented in WordPress without the need for use of any additional plugins.
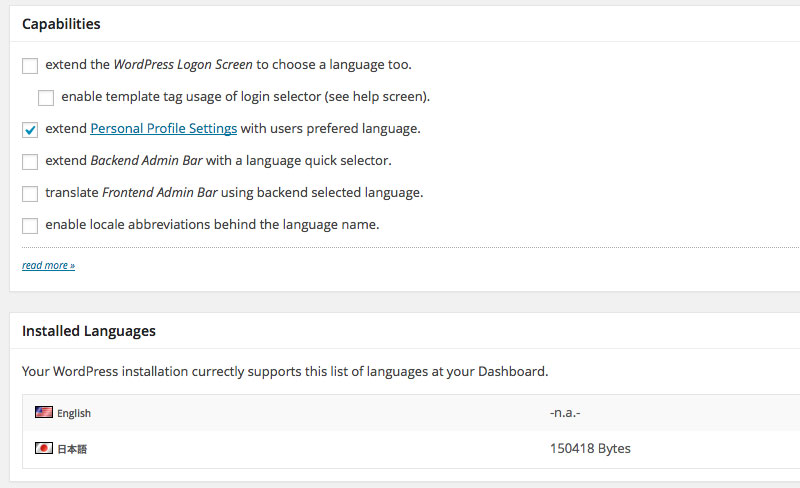
Step 4 — In the plugin settings, enable “extend Personal Profile Settings with user preferred language”.
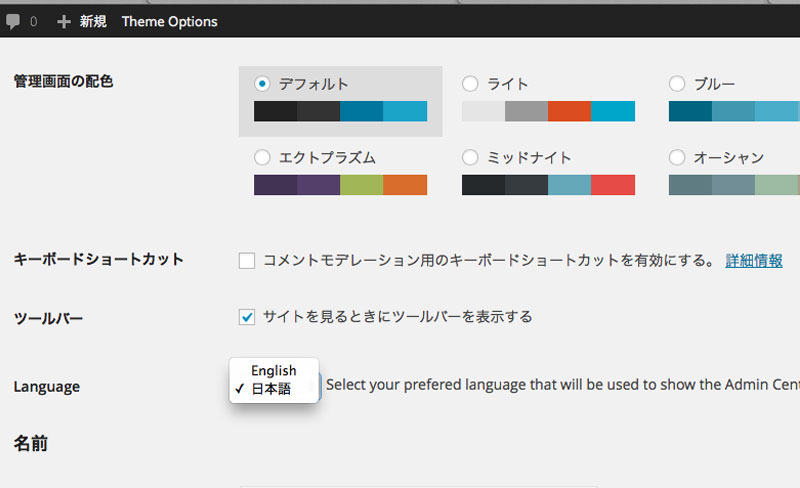
Just go to the settings of the user you are logged in with, and you will see the Language setting. If not, log out and login again. Note that you cannot change the languages of other users even if you are an administrator.
Got another trick? Share it in the comments below!


nice