This is a step-by-step guide for starting a blog with the free, BEdita CMS. Originally written for BEdita 3, but can be useful for the new BEdita 4 version as well.

BEdita doesn’t come with one default front end, you can make your own or choose from one of the ready examples provided within the plugin. One of them is based on the Twenty Ten WordPress theme. In this little how to, I will install it and see how quickly I can get a modest but working blog site up and running.
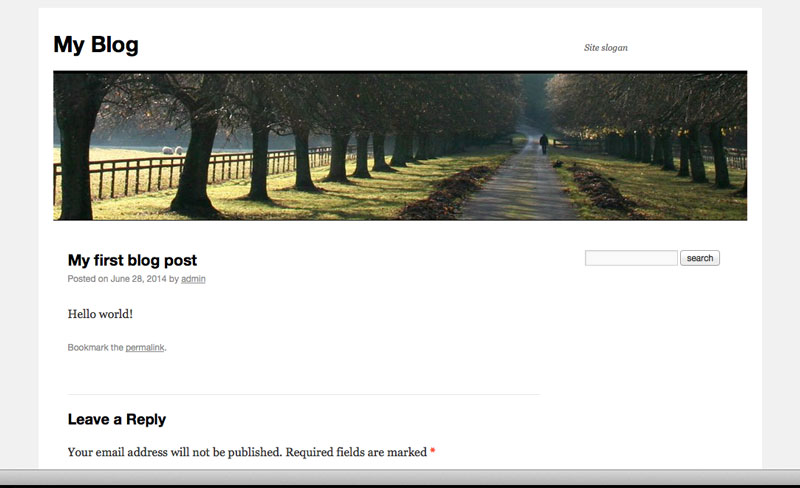
This is the end result I got. Looks pretty much like WordPress and has a commenting system. It took me quite a while to figure things out, but if you follow these steps it will be really fast.
Download and unpack the latest BEdita archive to your web server from (At the time of writing, the latest version was 3.4.0 corylus, which was used in this guide):
http://www.bedita.com/download-bedita
Fire up the installation process simply by pointing your browser to the folder with the unpacked files.
For the install, all you need is a working mysql database. Enter all the information there, until installation is finished. I recommend enabling mod_rewrite.
First I moved the front end files to a directory structure that makes more sense. So I created a directory named “blog” and copied the front end example to a directory name “post”. For some strange reason, this would only work inside two sub directories.
mkdir blog

cp /frontends/wp.example.com blog/post
Then edited the .htaccess file so that it points to the directory that contains the front end. I changed it from:
<IfModule mod_rewrite.c>
RewriteEngine on
RewriteRule ^$ bedita-app/webroot/ [L]
RewriteRule (.*) bedita-app/webroot/$1 [L]
</IfModule>
to:
<IfModule mod_rewrite.c>
RewriteEngine on
RewriteRule ^$ blog/post/ [L]
RewriteRule (.*) blog/post/$1 [L]
</IfModule>
You should see the basic layout in place.
Next you can login to the admin backend with a URL like so:
http://www.yourdomain.com/bedita-app/
On the right side you will see “Your 5 recent items“. Click on publication, then Properties. I set up the name of the blog, as well as the public URL which is important.
"public name:" to [your site name here]

More properties --> "public url:" to http://www.mydomain.com/

--> SAVE.
Go back and select “Section One” from the recent items list. Properties –> Title and properties –> “status: OFF” –> SAVE OFF.
If you want to edit the template. For example change the “Yet another BEdita site” text. or the header image. You need to edit the file:
~/public_html/blog/post/views/elements/header.tpl
Then you should have the very basics together to start blogging.
Blog entries are considered as Documents. Just go to:
Documents -> "Create new document".
There you have the usual title and text boxes for your blog content.
Just note that you have to select the publication you want to post it in at:
Position --> "Publication".
Otherwise you will get a message like “This content is not on publication tree. Continue?” if you try to publish the document.
If you want comments enabled, you have to enable it before you publish the post using the following option:
Properties --> "comments:" No / Yes / Moderated.
And that’s about it.
Blogging with BEdita?
Please leave us your link in the comments!
Thanks for visiting my blog, David.