These are step-by-step instructions on creating a fully functional, free Smart DNS Proxy account with SmartyDNS without a credit card in 2026 — enjoy.

Smart DNS Proxies are a great alternative to VPN, for circumventing geolocation restrictions of websites, video streaming services and more.
Here’s your chance to test out SmartyDNS, one of the easier to use providers. It has it’s own connection client, so everything is under a click of a button.
SmartyDNS Free Trial Steps
Please, I recommend following each step (shown below) in detail to make sure that you obtain your free trial successfully, without cost.
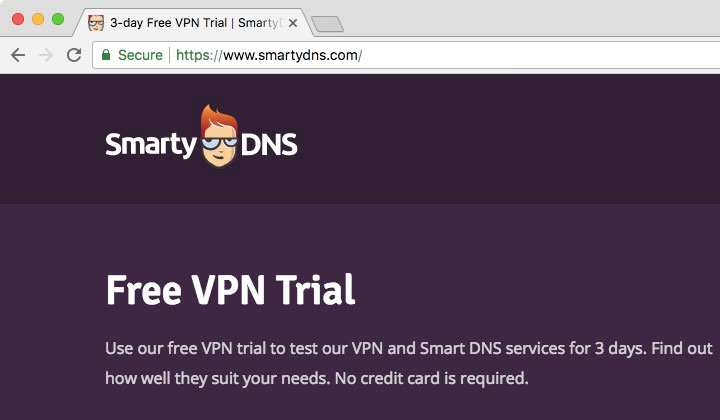
Step 1. First, click here to open free trial page.
Step 2. Then, proceed to where it says “Start Now”.
Step 3. Scroll down a little and click the “register a trial account” button.

Step 4. Enter whatever details to create the trial account.
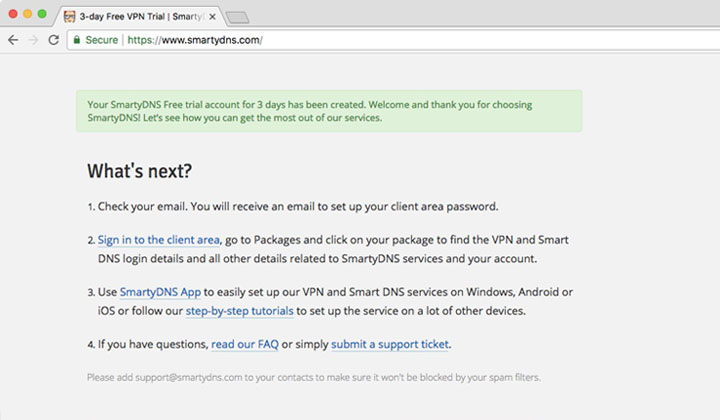
Step 5. Now your SmartyDNS trial account has been created which just need to be verified by email. You’ll see this message;
Your SmartyDNS Free trial account for 3 days has been created. Welcome and thank you for choosing SmartyDNS! Let’s see how you can get the most out of our services.
What’s next? Check your email. You will receive an email to set up your client area password.
Sign in to the client area, go to Packages and click on your package to find the VPN and Smart DNS login details and all other details related to SmartyDNS services and your account.
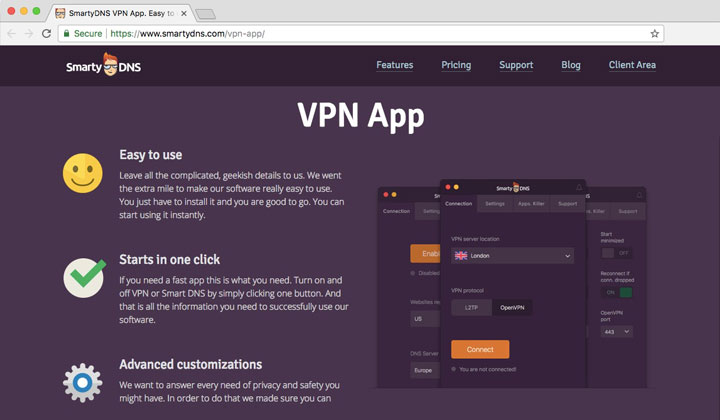
Use SmartyDNS App to easily set up our VPN and Smart DNS services on Windows, Android or iOS or follow our step-by-step tutorials to set up the service on a lot of other devices.
If you have questions, read our FAQ or simply submit a support ticket.
Please add *@smartydns.com to your contacts to make sure it won’t be blocked by your spam filters.
Step 6. Go to your email and click on the verification link.
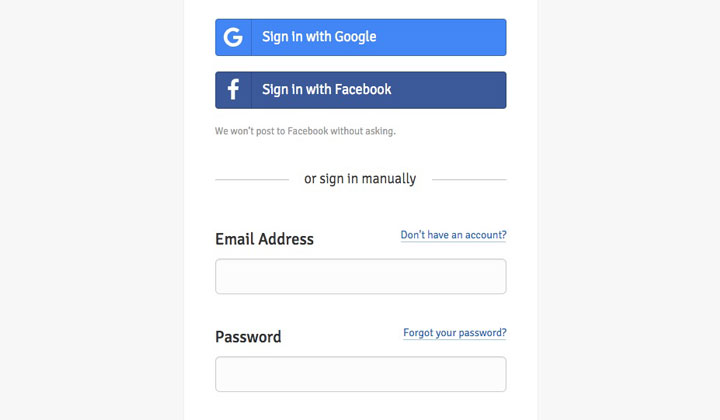
Step 7. You are now ready to login to your free Smart DNS Proxy account.

Step 8. Under “Activate Packages“, you have a list of activated DNS & VPN plans. If everything was successful, it will display “Free Trial” — click on it.
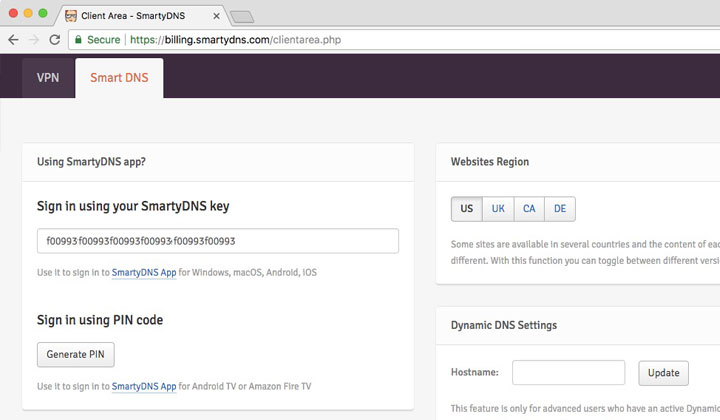
Step 9. Copy your “SmartyDNS key” used to sign up with the connection client. Also make sure “Websites Region” is correct, US, UK, Canada or Germany.
Step 10. Click here to download the VPN App (also used for the DNS Proxy).
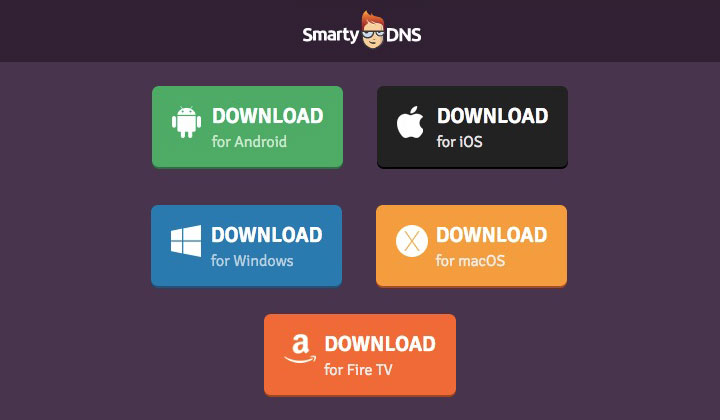
Step 11. You can choose between Android, iOS, Windows, macOS and Fire TV.
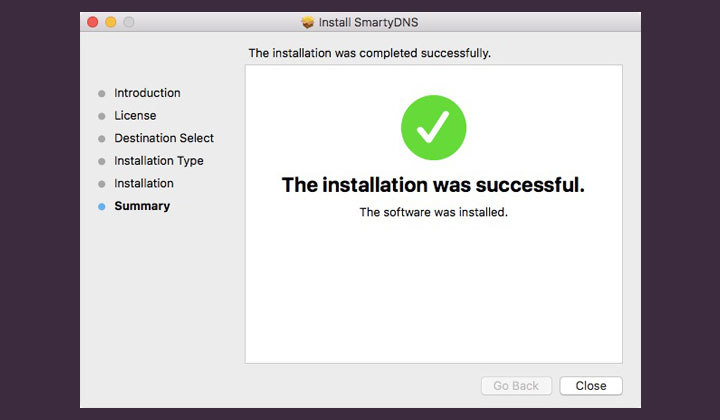
Step 12. Proceed to install the SmartyDNS software (above, macOS).
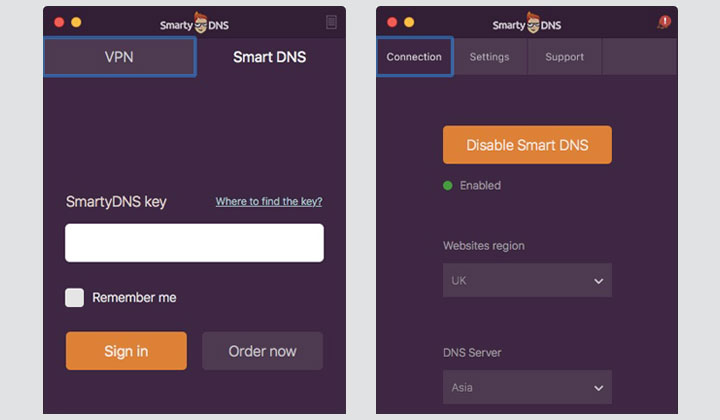
Step 13. Open the app and enter your SmartyDNS key to sign in.
Here you can also set up your websites regions: US, UK, CA, DE.
Available DNS Servers: Asia, USA, Europe, Australia (choose nearest location).

Step 14. Choose enable Smart DNS and you are ready to go.
Open up your favorite video streaming websites, such as BBC’s iPlayer.
Click here to find out more about SmartyDNS proxies!
Hope you enjoyed this guide to a free Smart DNS Proxy with, SmartyDNS trial.
If you have any questions, or comments they are welcome below.
And btw! Some of these free trial guides and other posts may contain affiliate links to support the work put behind the blog. I’ve done my best to not be affected by such affiliations. Thank you for reading. Sincere regards, David.
All numbers, keys have been edited in screenshots to not reflect the original.